Create Templates

🕒 Estimated Reading Time: 1 Minute

In this article
  • Create a Chatbot Template

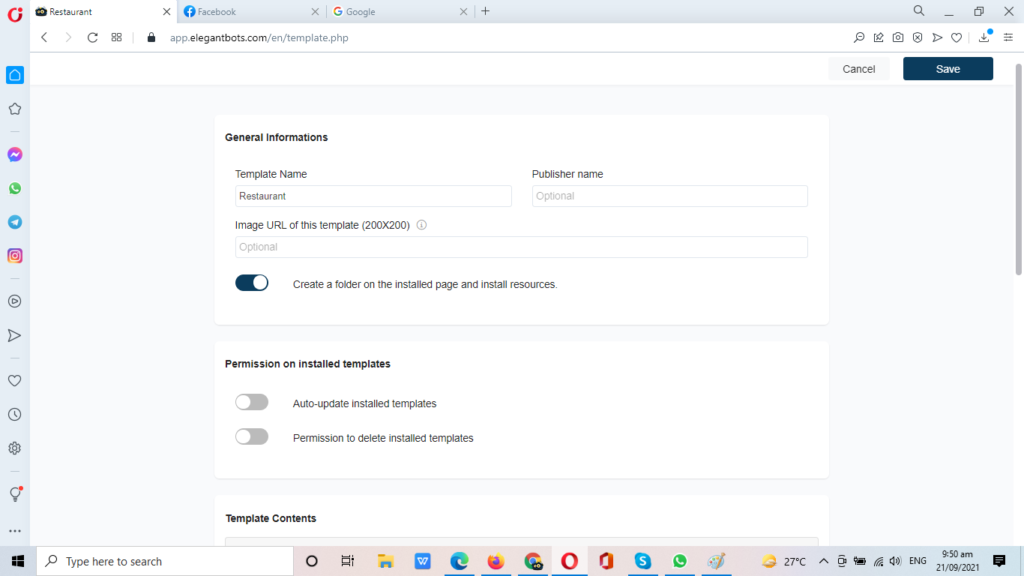
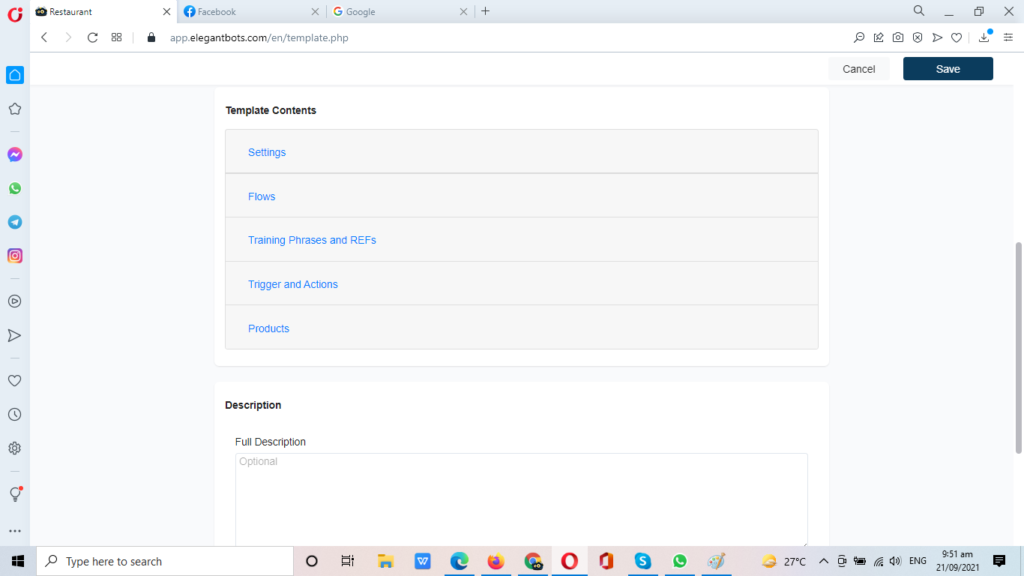
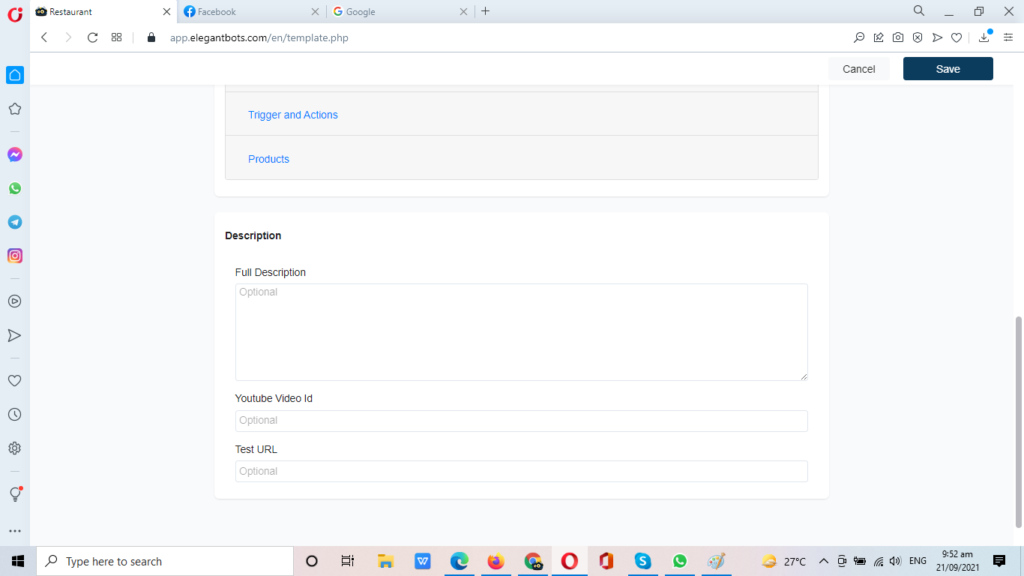
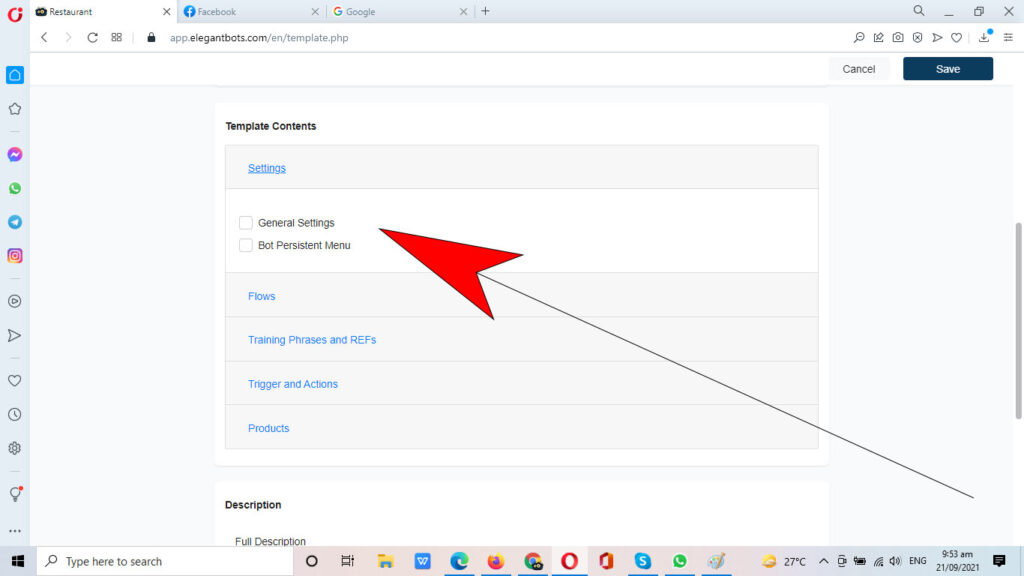
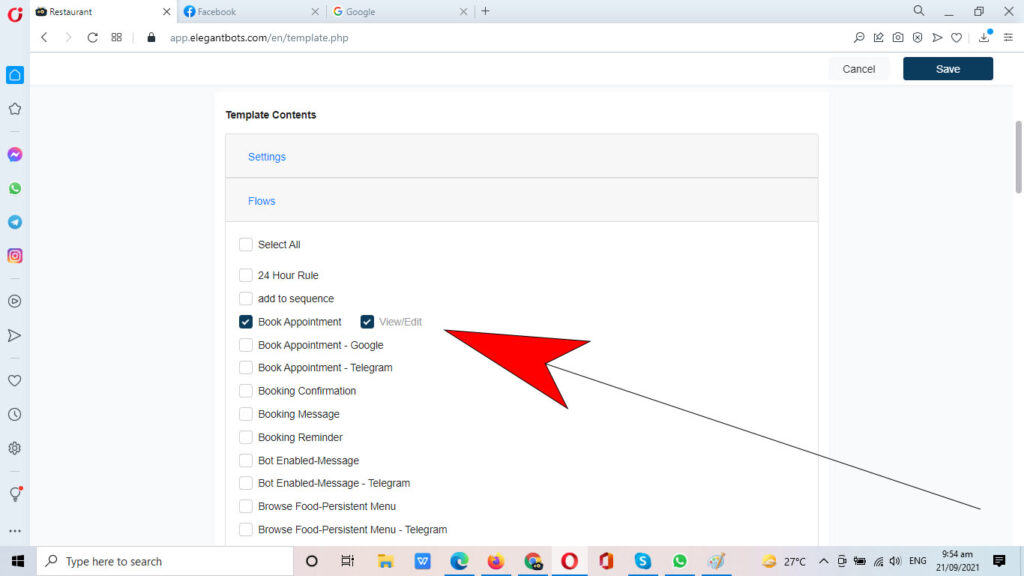
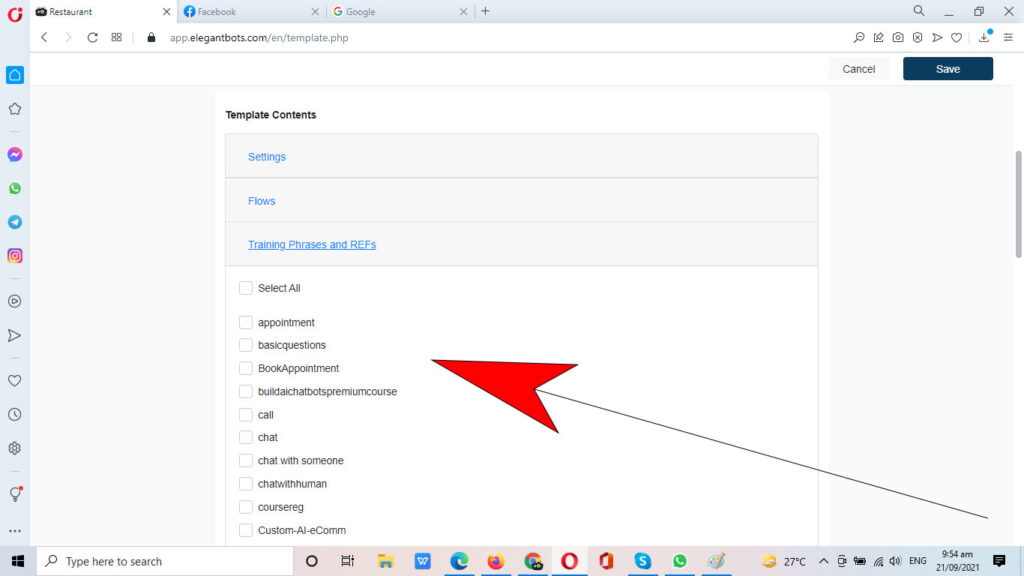
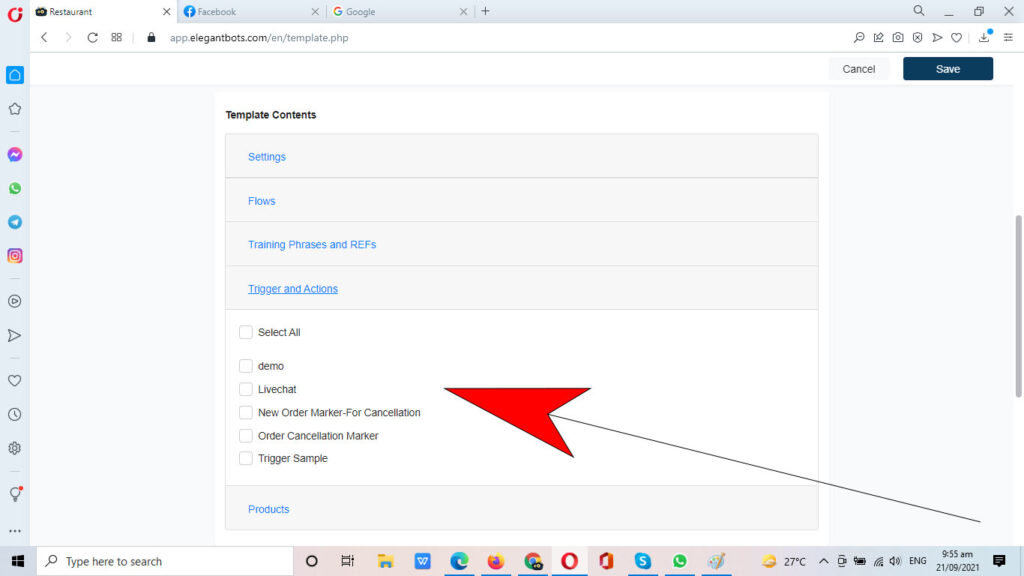
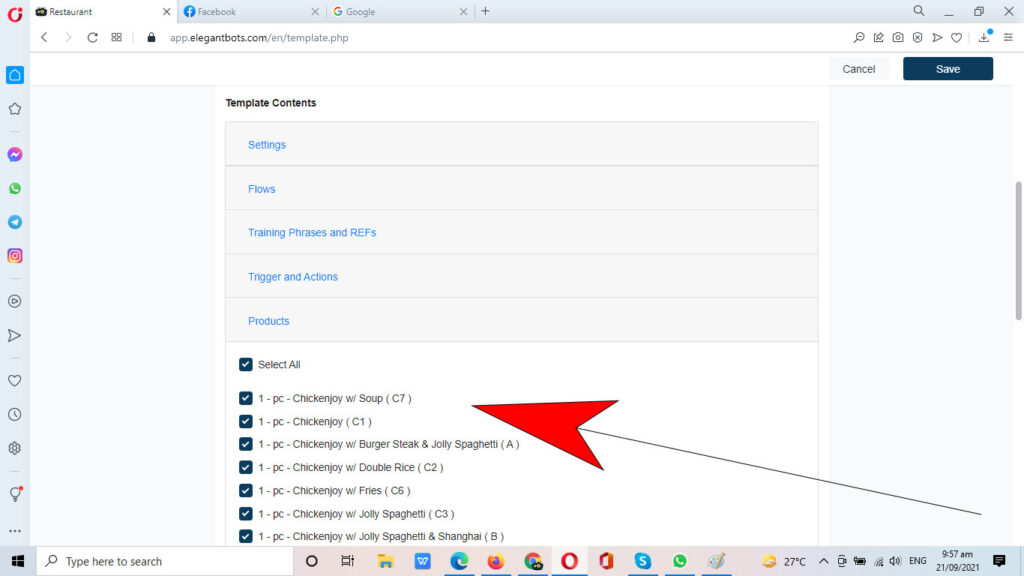
Develop a Messenger chatbot template and use it to back up your files, copy a Flow, Settings, Triggers & Actions, Training Phrases, and Products. You can also build a template for your clients with 100% protection.

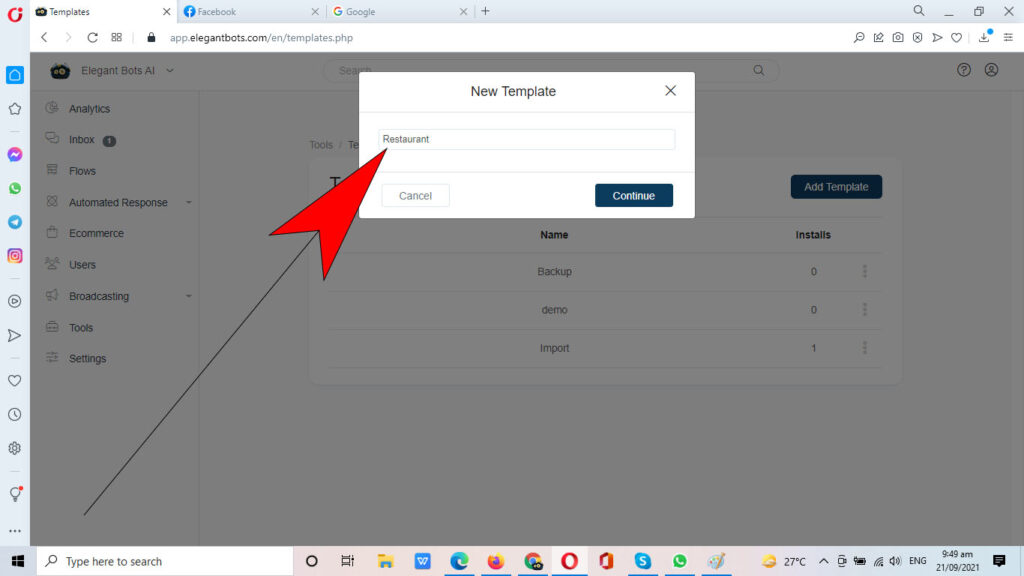
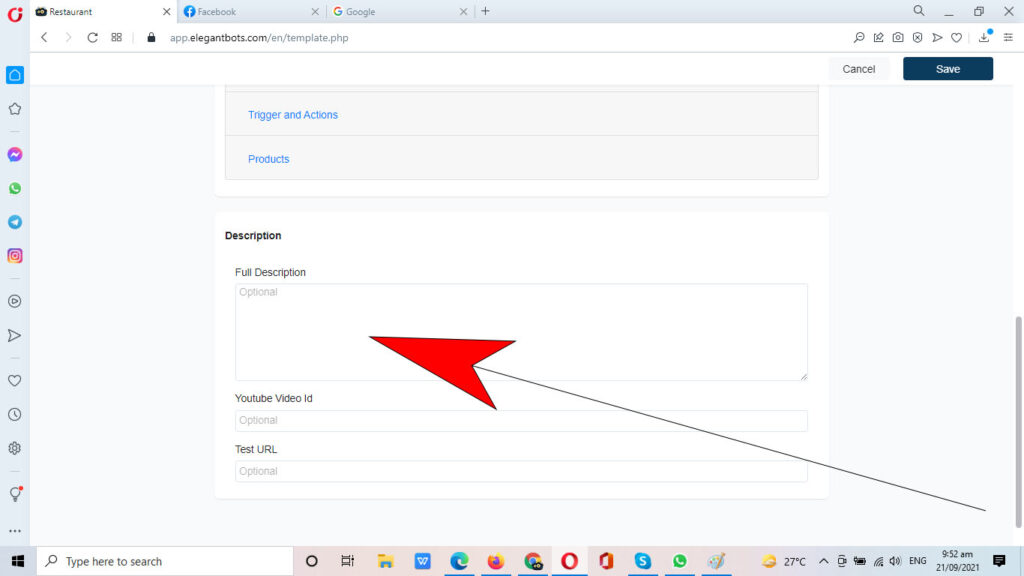
Creating and launching the templates is easy on Elegant Bots and the rest is based on your creativity level.

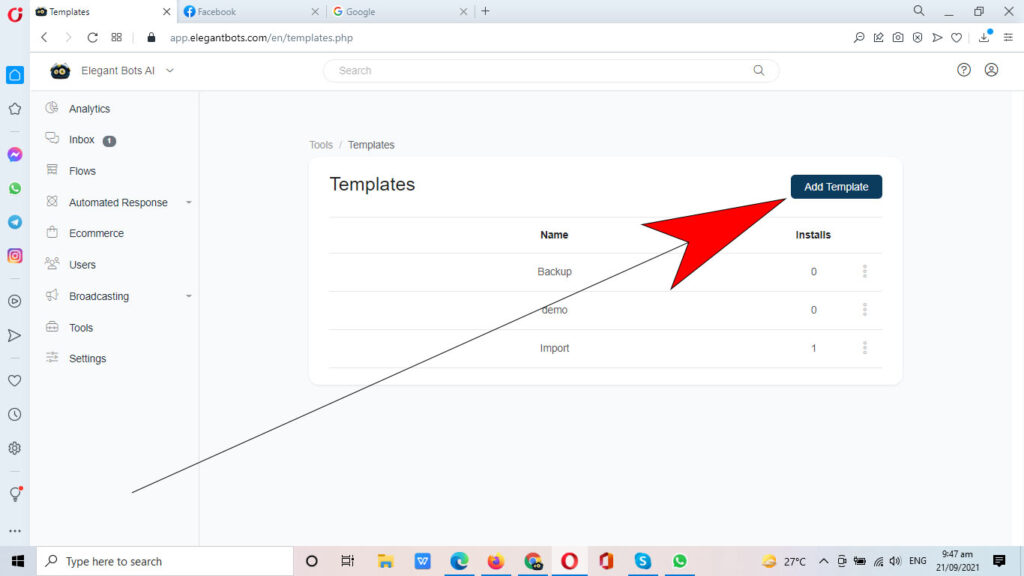
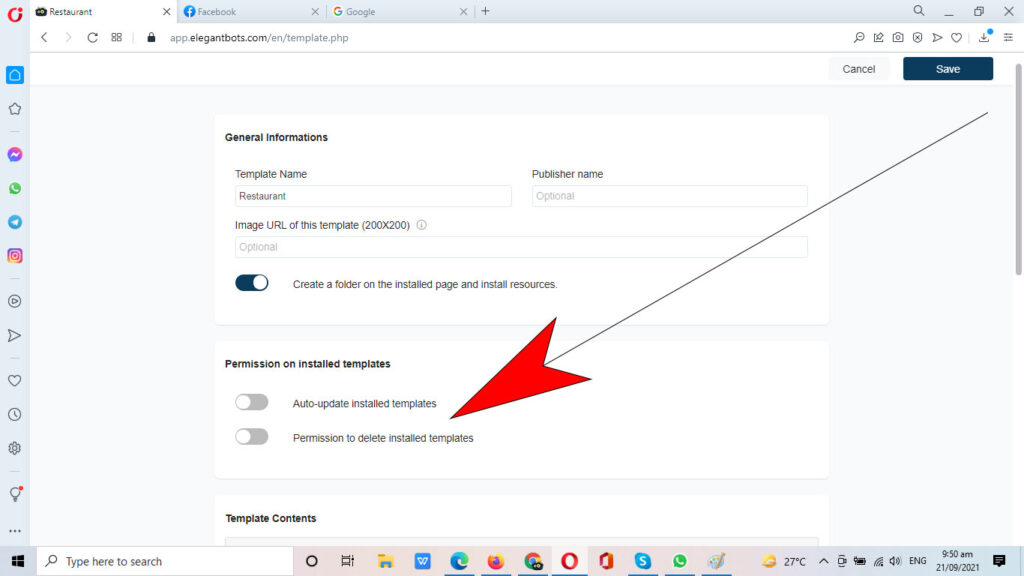
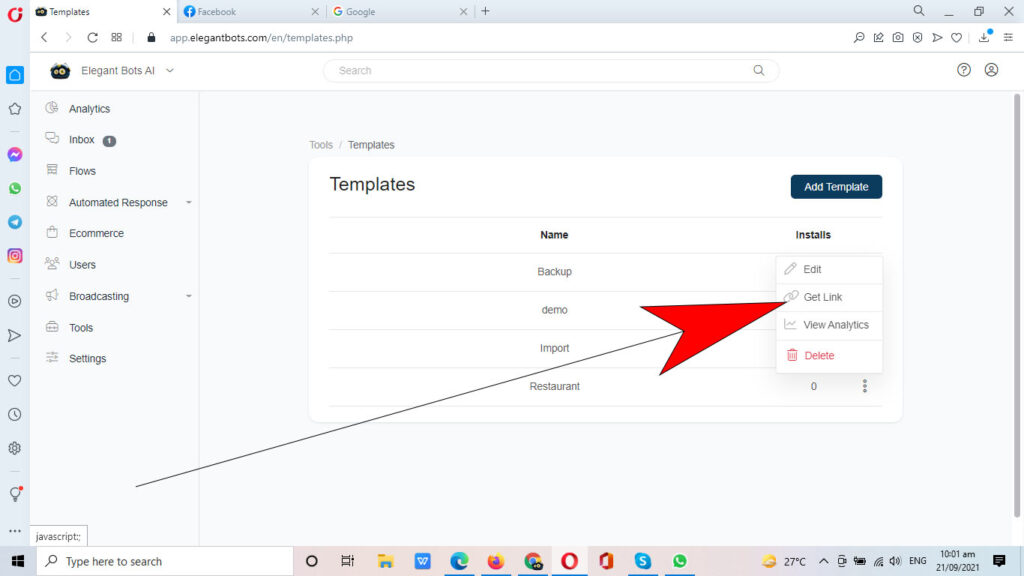
Let’s create a Template, Click ‘Add Template’.

We’ll name it ‘Restaurant’. 

This is how the template creation section looks like,

The table in this section will give you the template details like the name and number of installs. Also, you can sort the templates based on installation numbers. 

Create a Chatbot Template

Requirements: 

  1. Settings (optional),
  2. Flows,
  3. Training phrases & Ref URLs (optional)
  4. Trigger and Actions,
  5. Products.

In this template creation, fill the required details like

Template Name – Give a name to your template.

Publisher Name – Provide the publisher name (mostly your name or your business name)

Image – Paste the URL of the image that can be used on the template’s description. We recommend you to keep the size of the image as 200×200 in pixels.

Template Contents – Choose the contents that build for your template. That maybe flows, settings, fields or even training phrases, etc.

Description – Fill the details of your Messenger chatbot flow like the purpose, use case and many more.

Youtube URL – If you have a youtube video about this template, paste the URL here.

Test URL – You can link the demo chatbot of your template so that people will try and decide to use your template for their purpose.

After filling all this field with sufficient details, click the save button.

Your template has been created and you can share this to your client by getting the link on the sub-menu of the particular template as shown in the image below.

Now, follow these steps to create a Messenger chatbot template on your own.

Set the General Settings.

Select the Flows you want included. 

Note: You can also untick the ‘View/Edit’ tick box if you don’t want the such permission given to another person. 

You may also Set these Permissions, ‘Auto-update installed templates’, ‘Permission to delete installed templates. 

Select ‘Training Phrases and Ref’; ‘Triggers & Actions’; and ‘Products’ you want included in your template.

You may also Put a ‘Template Description’, ‘Youtube Video’, and ‘Test URL’.

When you’re done, don’t forget to Click the ‘Save’ button. 

When you’re Template is ready, just click on the ‘Get Link’..

Click the ‘Install’ button. 

That’s it! Enjoy..