Tag a user

🕒 Estimated Reading Time: 1 Minute

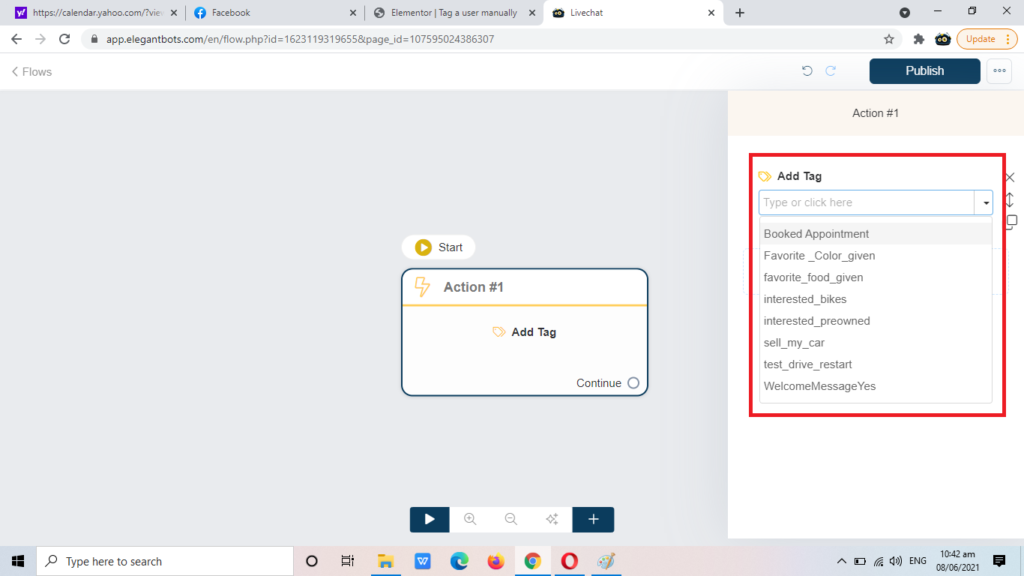
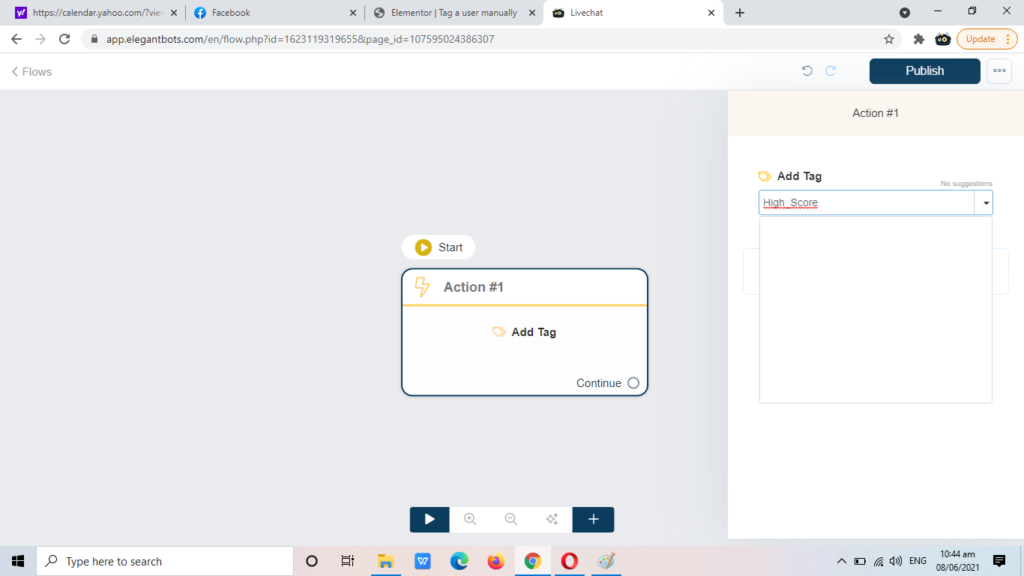
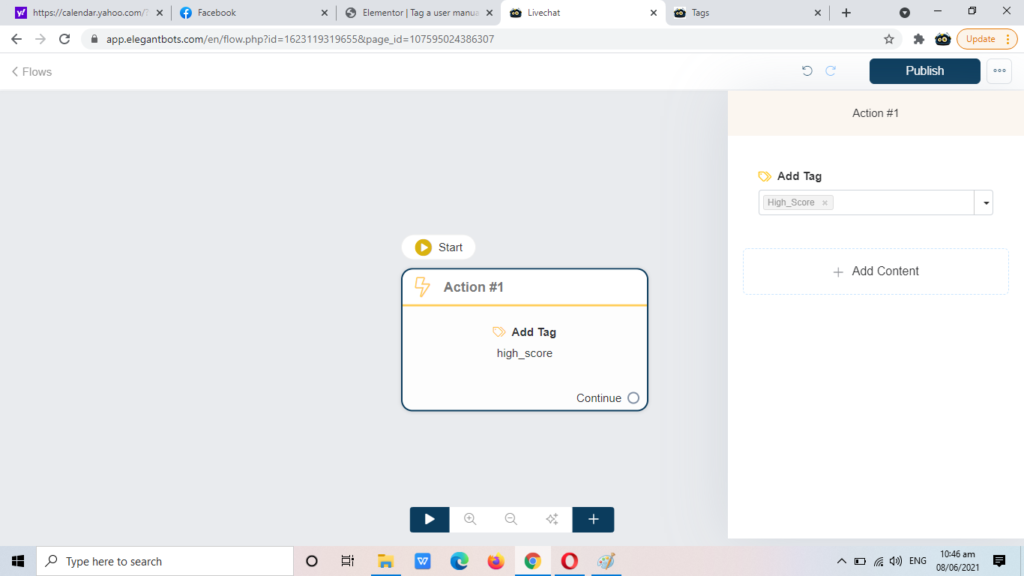
Adding tags will help you to send the broadcast messages and even on sorting users. You can add a tag to multiple users with entering the tag details individually.

It can be also done through the following steps,

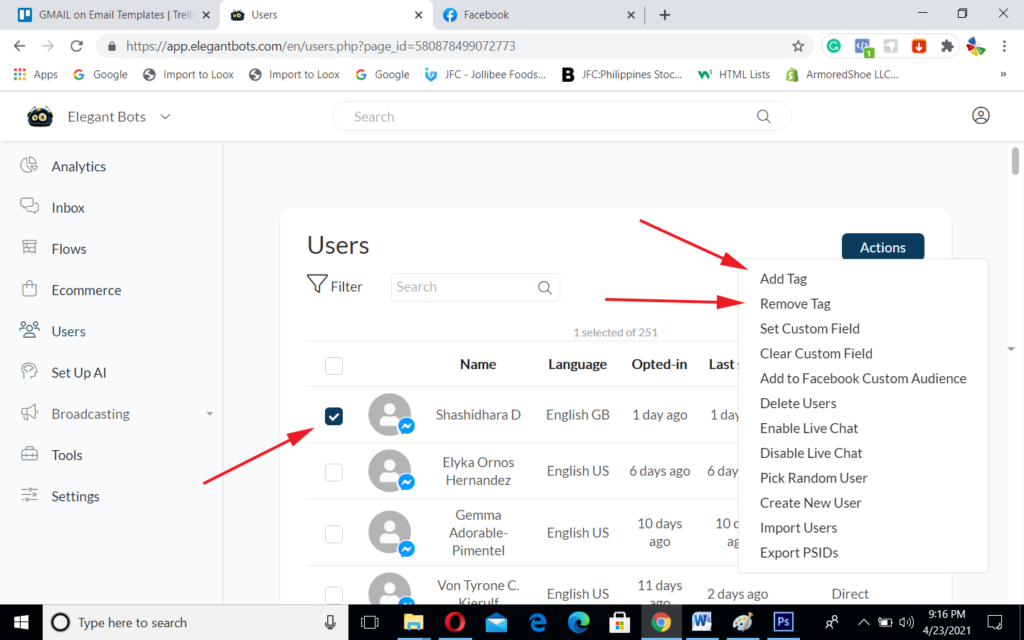
  • Step 1: On the Users section select the single/multiple users by clicking on the checkbox.
  • Step 2 : Click on “Actions” button.
  • Step 3: Select “Add Tag” on the drop-down menu to add the required tag to the single/multiple users.
  • Step 4: Select “Remove Tag” on the drop-down menu to remove the required tag to the single/multiple users.

For better implementation, you should Tag a user inside the flow builder. To do this, you can go to Flows>Tags and create a tag. 

Then set up the Tag created inside a flow just like the image below. 

For my scheduling flow, I used the Tag “Booked Appointment” mark a user who has already booked an appointment. 

Alternatively and for faster setting up of tag, you may go directly inside your flow and set it up just like the images below where I just typed directly into the “action block” the name of the tag – “High Score” and it will be automatically created and ready to use. 

The Tag “high_score” is ready to use now. 

If you go to the Tags pane, you will see the tag “high_score” is already been created automatically. 

That’s it! Enjoy..