All Categories » eCommerce » Setting up Delivery Cost based on Location
Setting up Delivery Cost based on Location

Setting up delivery cost based on the location is possible inside the Elegant Bots platform and it will take only minutes to configure different delivery costs based on locations.
In this article, you will learn how to set up different delivery costs per state, city, or address for multiple products.
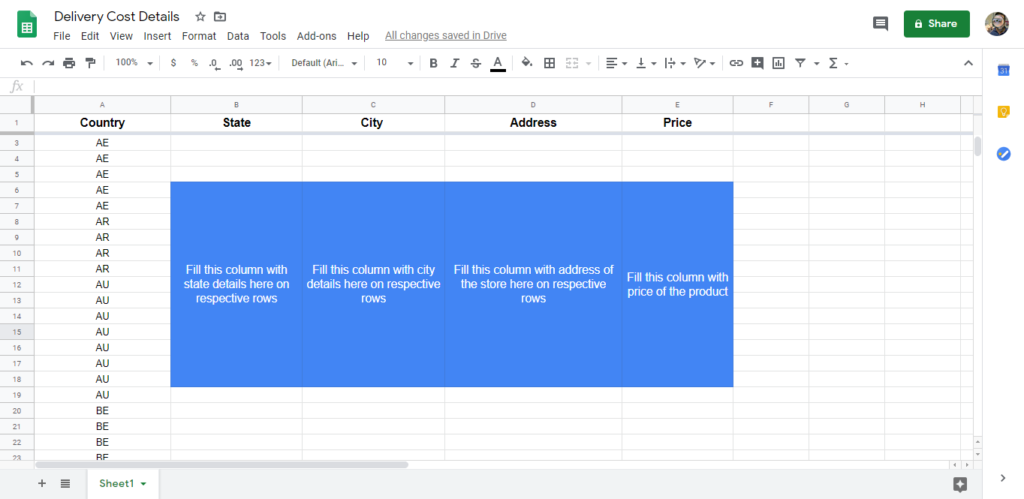
First, create a Google Sheet or Microsoft Excel document and start feeding the details.
Add columns with this header name “Country”, “State”, “City”, “Address” and “Price”. Note that that the title must be exactly as explained (case sensitive). For example, if you make the title like “country” it will not work.
The country column must be in ISO Alpha-2. For example, instead of filling “United State” you fill “US”, instead of filling “France” you fill “FR”.
For state, city, and address columns there is no restriction on how to fill it.

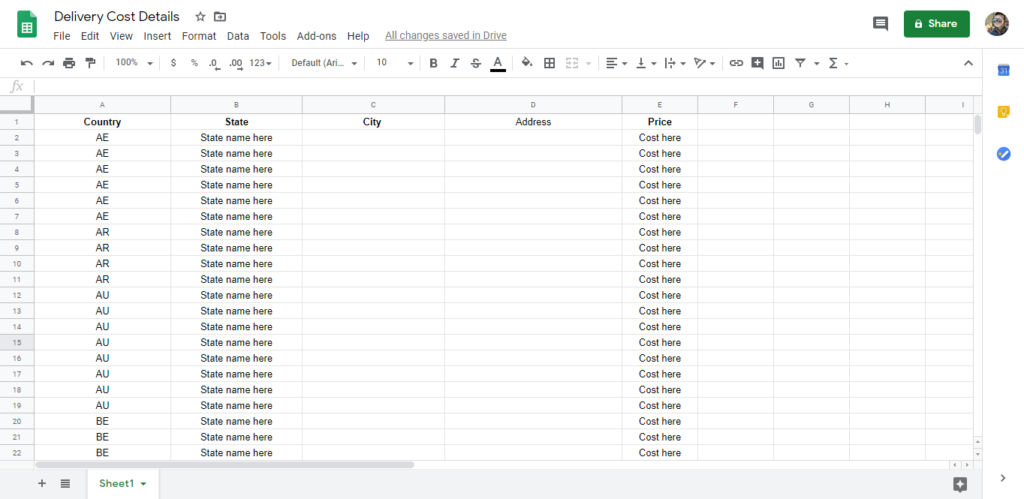
If your delivery charge varies by “State”, leave all cells in “City” and “Address” as empty. If your delivery charge varies by “City”, leave all cells in “Address” as empty. The below image is an example of different delivery charges for a different state.

For “Price” Column, no need to add the currency symbol. Also, don’t add any space in the numbers. For example, if the cost is 1 000.5 USD just fill the column price with 1000.5.
Since you already choose the currency symbol on the eCommerce settings, so no need to add currency symbol here again.
After you entered all data in your file, then export the document in CSV format.
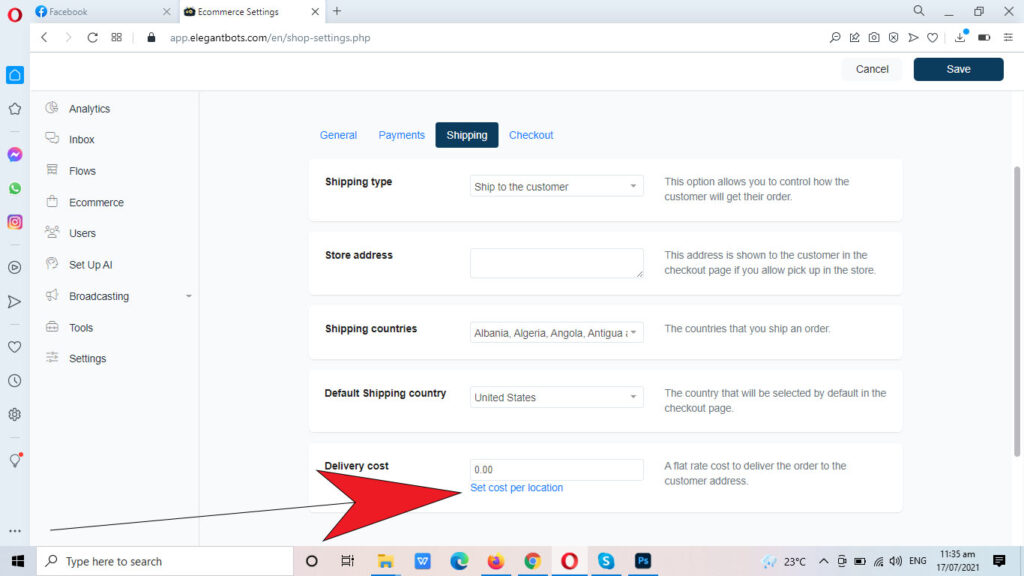
Now, go to eCommerce > Settings > Shipping and find the “Delivery cost” and click “Set cost per location”

Kindly note that every time you upload a new file, the old pricing will get deleted before your file is imported. If you want to set a flat rate cost again, just upload a new file with no data included.
Hope this article helps you to know how to set up Delivery Cost based on Location.