Custom Fields 

🕒 Estimated Reading Time: 1 Minute

In this article

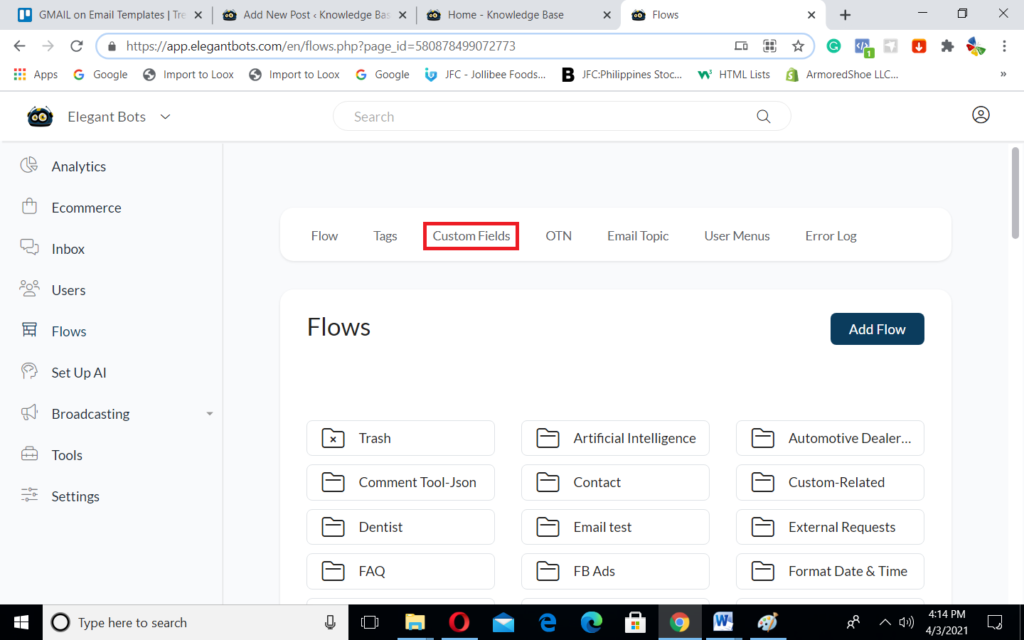
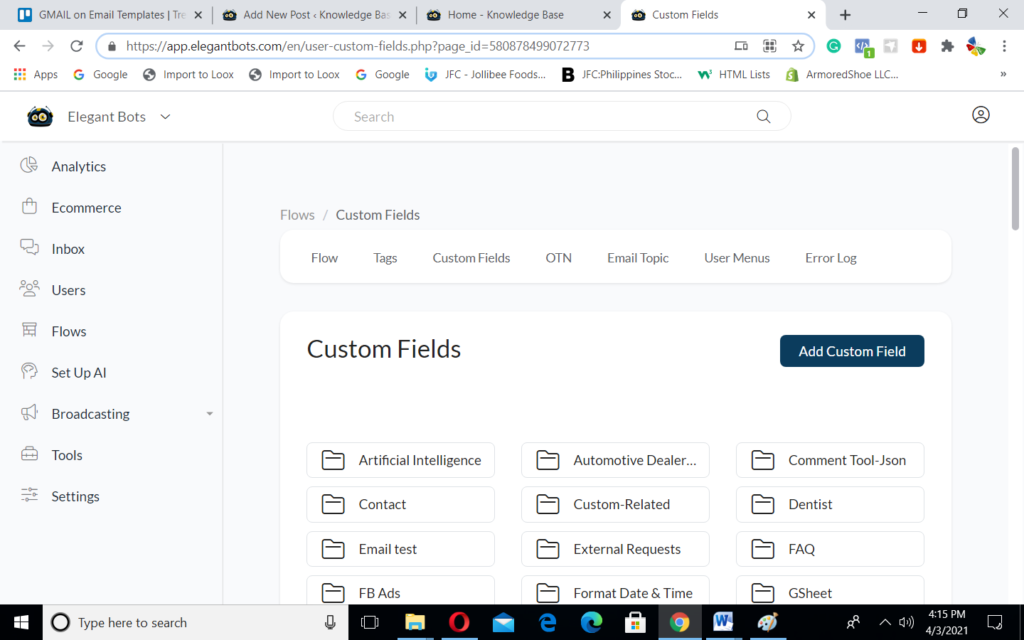
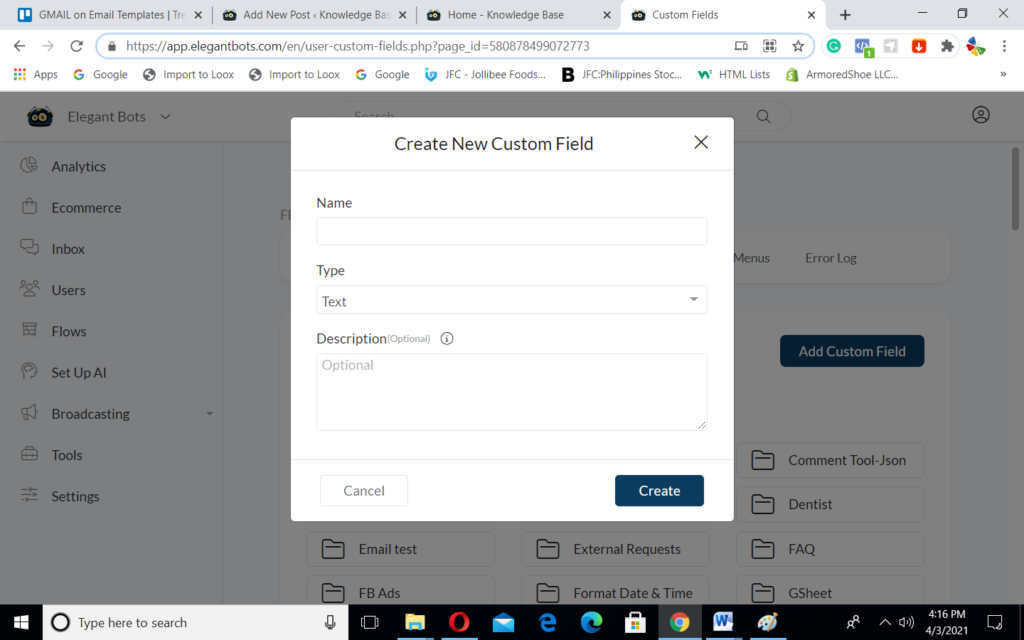
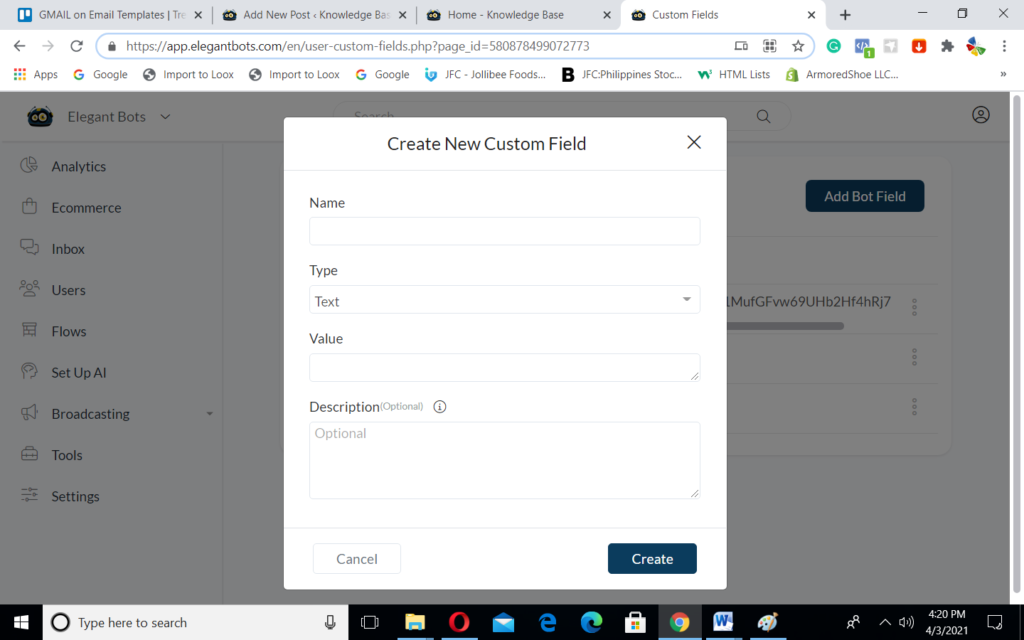
1. Create a Custom Field
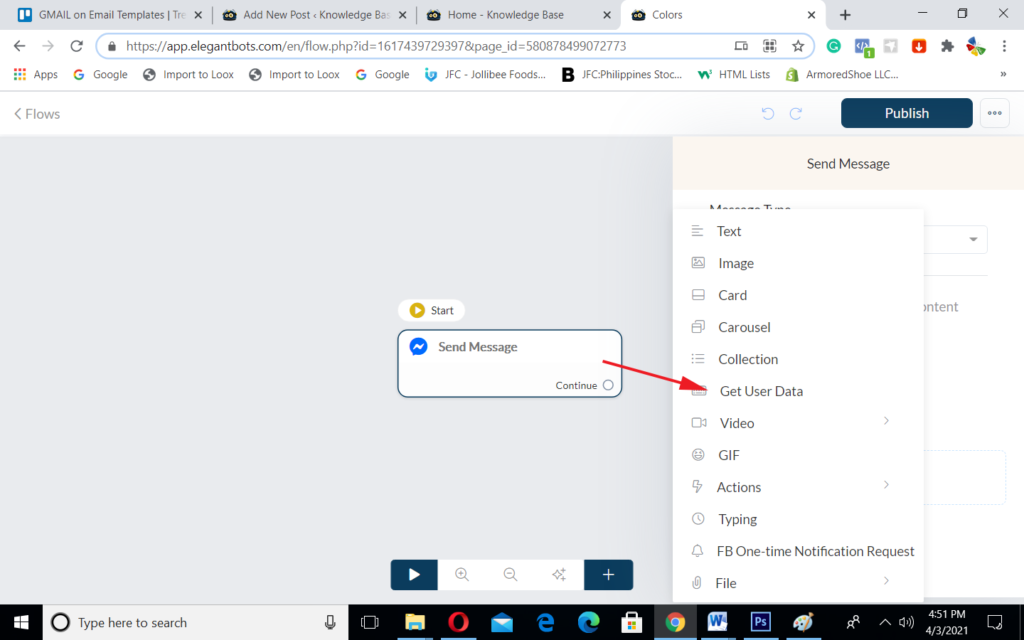
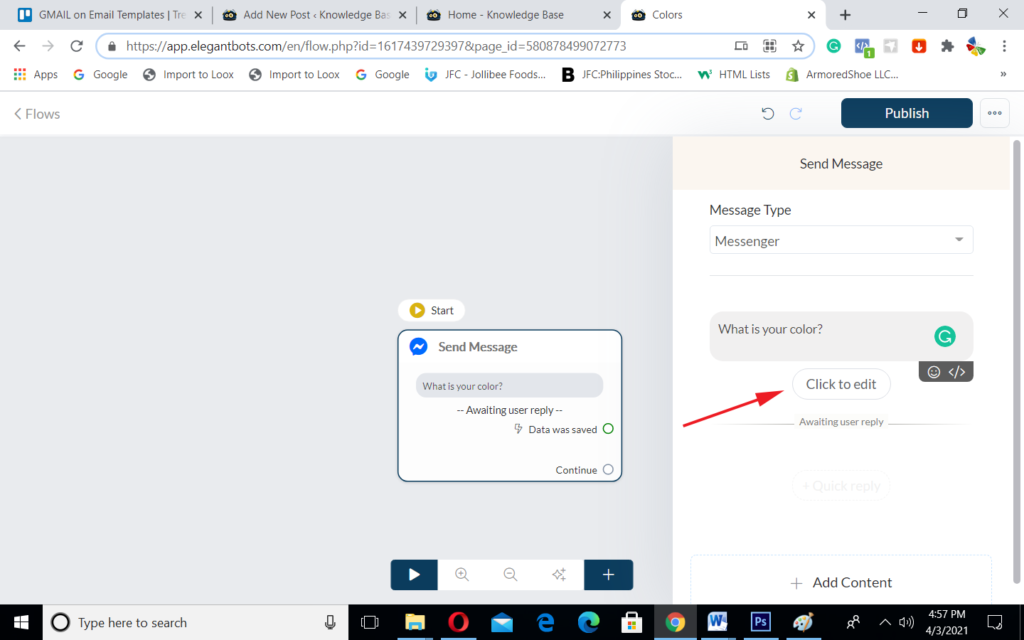
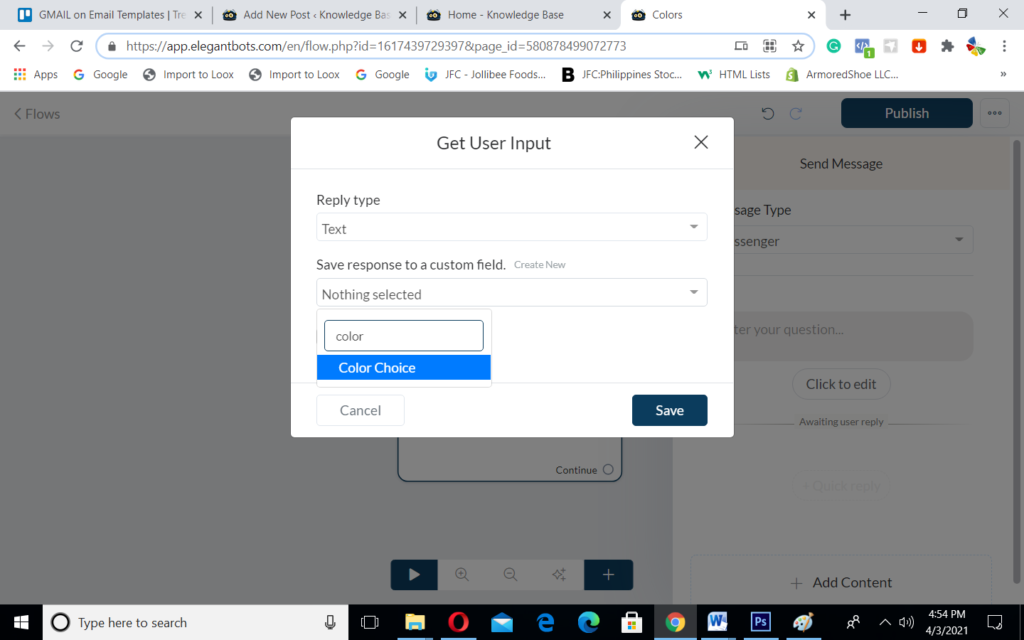
2. Using Custom Field on a Chat Flow

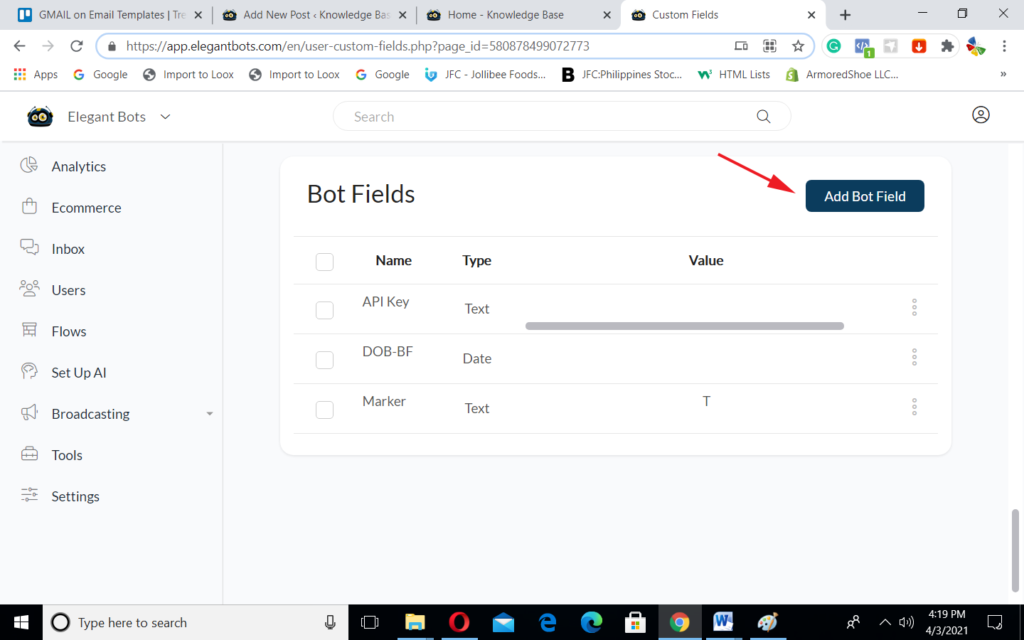
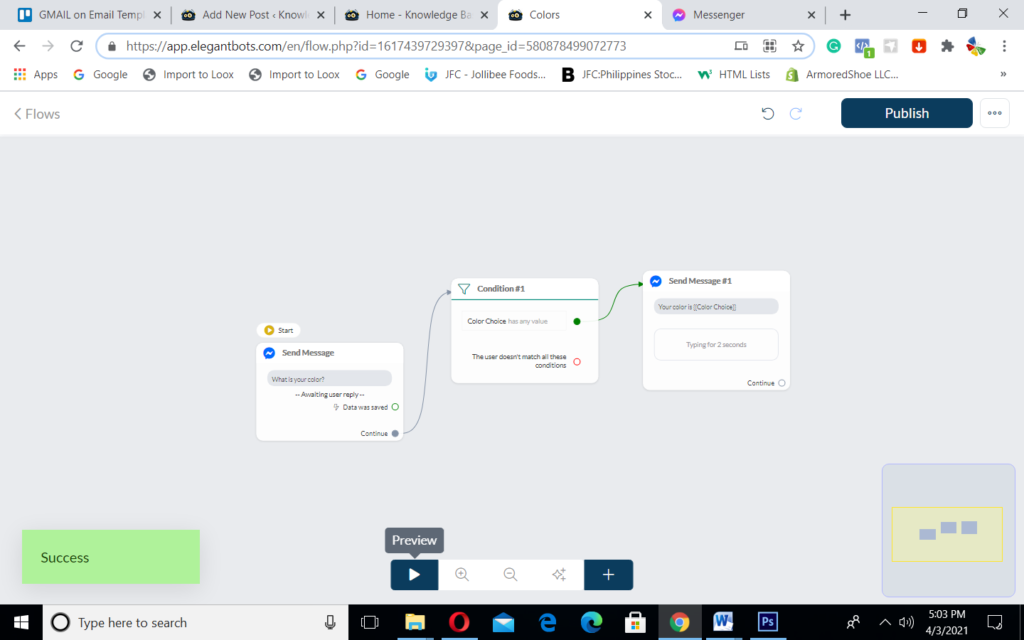
Custom fields are basically variables to store the user information like email, phone number, and a whole lot more based on your requirements and bot building process.

This is how it is described inside the platform “Use custom fields to save users data like email, phone number… you can also use custom fields to save users’ behavior. You can create a condition Flow based on custom fields or filter your user based on custom fields when you send a broadcast message.

Custom field data can be stored in different formats like,

Text,
Number,
Date,
Date & Time,
True/False

Create a Custom Field

You can create the custom field on the flow section.

Go to Menu > Flows > Custom Fields

It will bring you to the Custom Fields page where you can create and save them. 

Click the “Add User Field” button if you want to add a Custom Field. In the image below, you can fill the name and type as per your need, and don’t forget to fill in the details about the custom field on the description field. Even though the “description” is optional, this information will help you when you have multiple custom fields in the future.

You can also create Bot Fields here by clicking the “Add Bot Field” button. Scroll down a bit and you’ll see it.

In the image below, you can fill the name and type as per your need, and don’t forget to fill in the details about the custom field on the description field. Even though the “description” is optional, this information will help you when you have multiple custom fields in the future.

Now see how we can use this custom field on a chat flow to store the user information on the flow automatically.

Using Custom Field on a Chat Flow

If you already created the custom field to save the user input (information), it’s fine. Or you also can create custom field while building a chat flow. Select the flow where you want to use this custom field feature or create a simple flow like the one below. On the flow, utilize “Get User Data” to gather input from your subscribers (similar to the image below).

Then click on the “Click to Edit” button to configure the custom field wizard. 

Now, choose the custom field if you had created it already or you can create a new custom field here in the wizard itself. We will select the custom field, “Color Choice” where the input value from the user will be stored. 

The finished simple flow, will look like the image below…

Lets preview…

When a subscriber interacts on this flow and provides an input, the value will get stored on the custom field named “Color Choice” and display it “Your Color is Blue” like the image below showing the output.

Overview << Prev

Next >>Tags