Overview 

🕒 Estimated Reading Time: 1 Minute

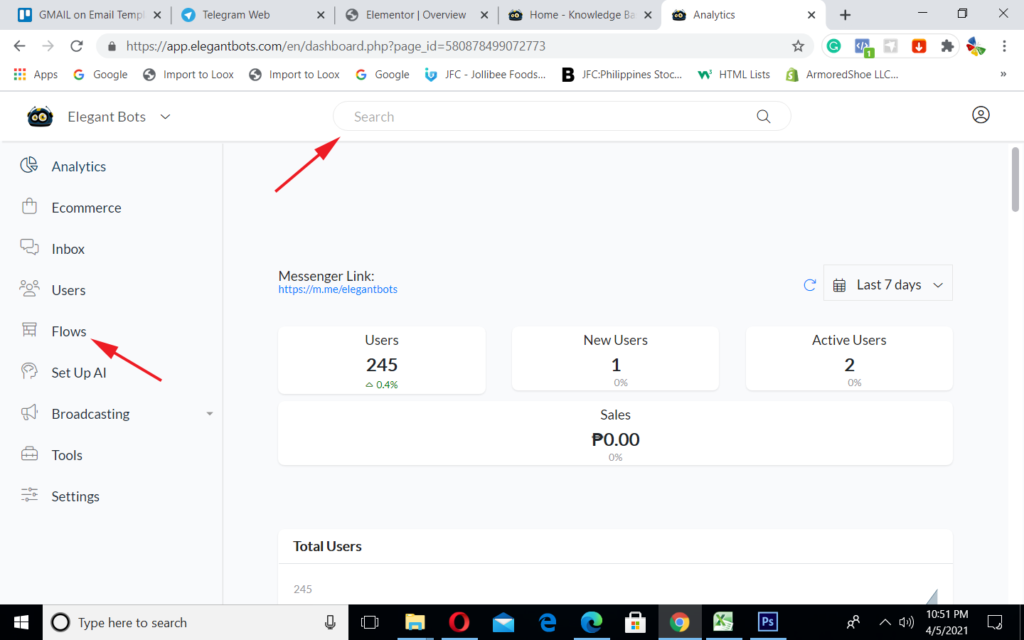
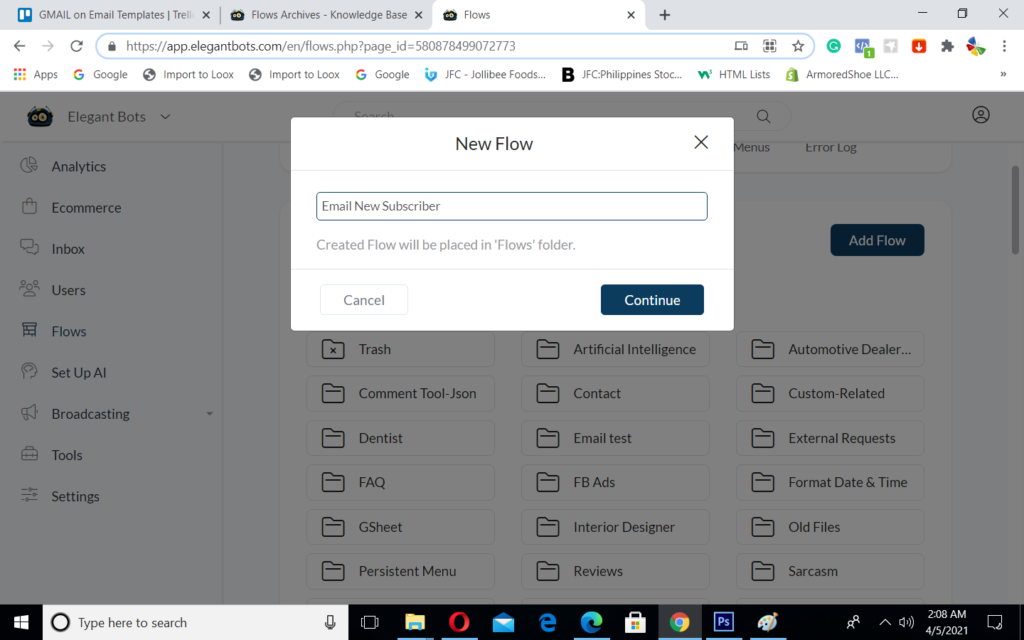
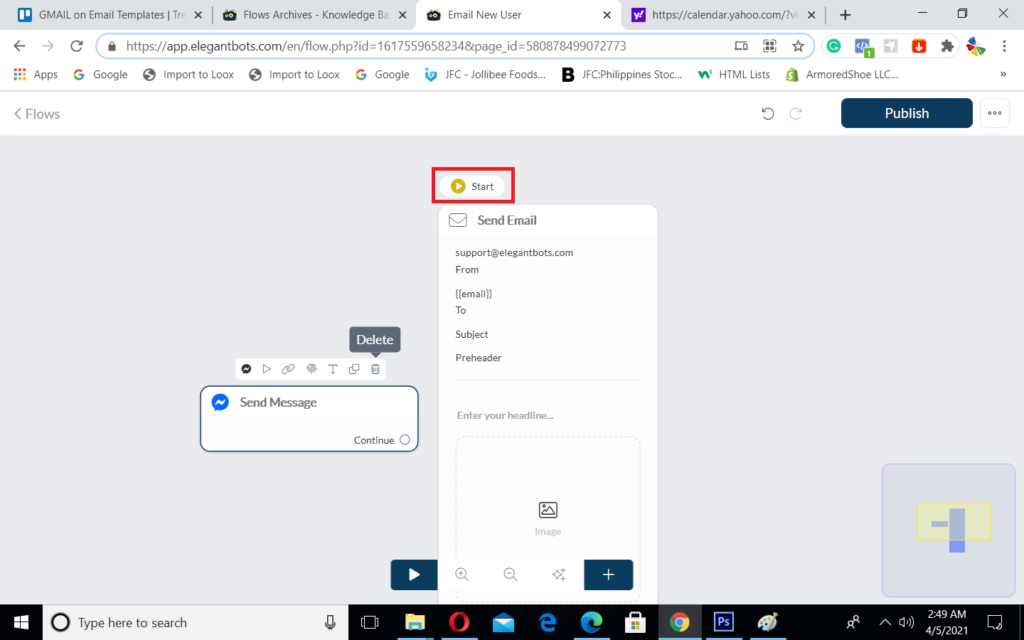
Flows are the building blocks of your bot. It’s where the conversational structure are formed. You can’t build bots without flows. They’re like the pages of the website where content can be found.

To start building flows, navigate by clicking “flows” on the main menu.

If you have already built flows, you may also access them by typing in relevant keywords in the search bar. 

For the purposes of this tutorial, we’ll just click “flows” on the main menu.

We’ll be routed to the flows page where you can build flows. 

The Tags & Custom Fields tabs below the search box will take you to the detailed list and analytics of tags & custom fields respectively.

“Add Flow” is to create a new flow for your Messenger Chatbot campaign, you have to give a name for your new flow to proceed further.

In the flow table of content, you can see your flow’s name, modified date, and menu for every flow. Click the 3 dots on the right side next to “Modified” Date if you want to view the menu. 

On that menu you can flow details like preview, analytics, flow link, and also can edit and delete the particular flow through this menu.

Note: The Yellow color  before the flow name “Colors” indicates that the flow is unpublished and it will not show to your subscribers till it is published. Always make sure that your flow is published before making it live for the automation campaign.

For the purposes of this tutorial, we’ll build a flow that will send a welcome email to new platform users. 

We’ll name our flow “Email New Subscriber”. 

Upon clicking “continue”, you’ll see this view with only one block showing “Start” at the top which by default is the first step of the flow. 

We’ll double click on an empty space ( Or click the  “Plus” sign at the bottom ) and we’ll see a pop up where we’ll select “Send Email” to get an email form. 

You’ll see a form with prefilled “from” and “to” fields. 

The “From” field is derived from the saved SMTP email ( Found on Settings>Email ) of Elegant Bots and the “To” Field is from the user’s saved system email. 

We’ll not use the original block so we’ll change the first step to the Email Form and delete the original first block. 

Let’s fill out the “Subject” line and the Preheader.

Then the header and the image.

And the body of the letter…

And of course, the button “Go to Knowledge Base”…

Hit “Publish” and “Preview” ( with Triangle Icon ) button to send the flow. An email will be sent to my Gmail. 

This is the email received from “Email New Subscriber” Flow. 

That’s it!